Those who read the Train and Trestle post will recognize these shots, and remember I had taken a number of bracketed photographs to test out HDR tools.
HDR stands for High Dynamic Range, and it refers to the practice of extending the standard dynamic range of a photo by merging a sequence of shots ranging from well over-exposed to well under-exposed. The results can often be stunning (check the internet – millions of HDR images out there), although some people don’t like them at all.
Photoshop has an HDR tool integrated in it. Called HDR Pro, it has a number of presets. One of them is called Photorealistic, and the shot below is the result from it. (You can watch a YouTube Video on HDR Pro HERE)
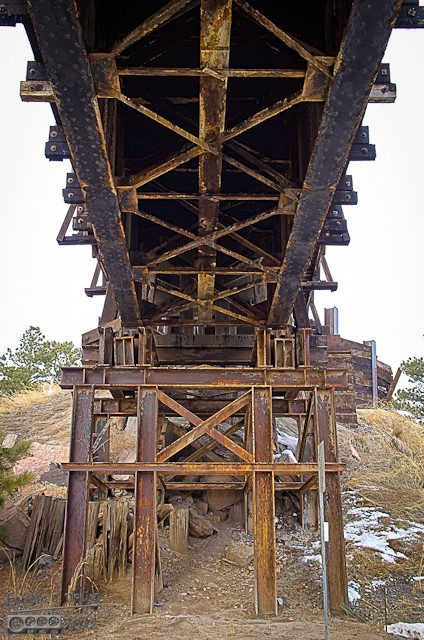
I like how this tool worked, but it did better with some type of pictures than others. It did excellent for the above shot, and for these two as well.
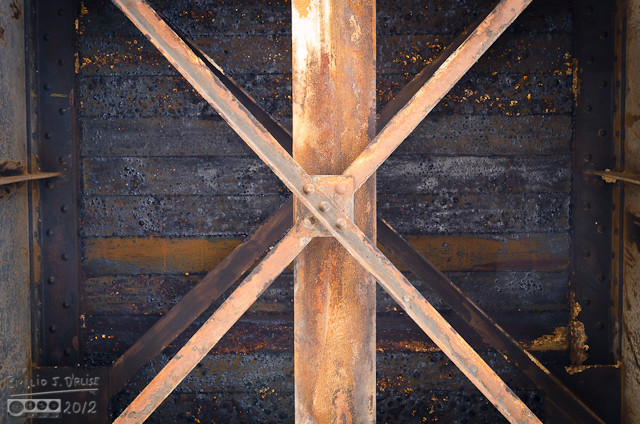
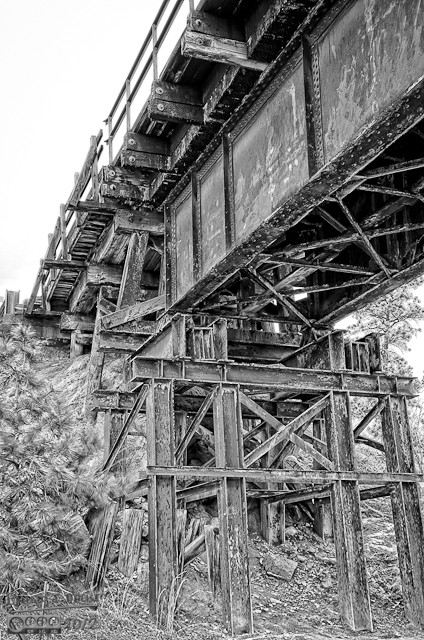
Not many will go and see these shots in their native resolution, so here is a crop from the above picture.
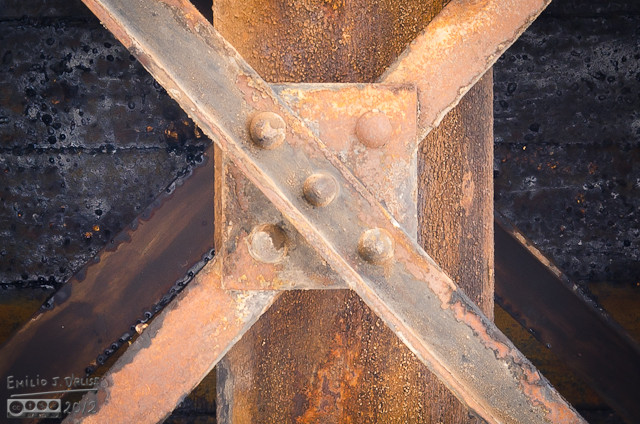
My litany remains . . . “much better in SmugMug”. Many of these shots are stunningly different when viewed full size, or even enlarged. The detail can be amazing.
I only processed three photographs in Photoshop HDR Pro because it did not handle some of the others all that well. I mean, it did a good job, and I could have tweaked it to improve it, but I did not have the time.
My guess is it would do better with more exposures.
I plan to try a -2.0, -1.0, 0, +1.0, +2.0 (five shots) and see how it does, and possibly play with wider ranges and more shots . . . when I retire, or win the lottery.
One thing HDR Pro did well was to handle the edges in high contrast places; it has very little ghosting and fringing at the edges. I was impressed with how well it worked.
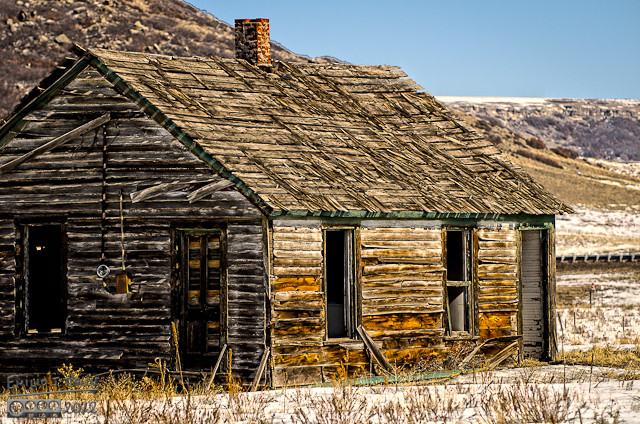
HDR Express is a very simple program to use, and it comes with a lot of adjustments as well as a number of presets. It has an easy and intuitive interface. And it has the option of creating an HDR image from a single photo (typically HDR merges multiple photos with bracketed exposures). The shot above is such an example.
Same shot with a B&W treatment (one of many available).
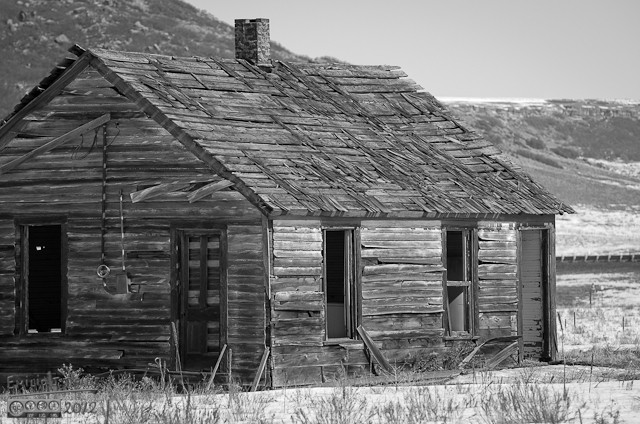
HDR Express handled pretty much everything I threw at it, with the exception of the first shot above. The result of that particular HDR processing were disappointing (in part why I tried HDR Pro).
I was very happy with the rest, even though if you zoom in at the sky interface you will notice a certain amount of ghosting and fringes. This is more pronounced at the perimeters, so it might also have to do with lens distortion.
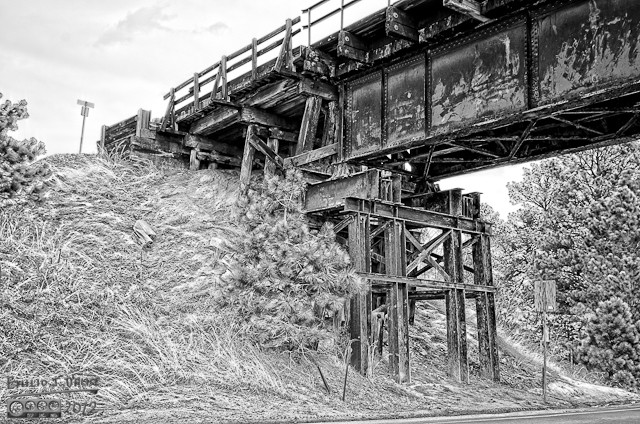
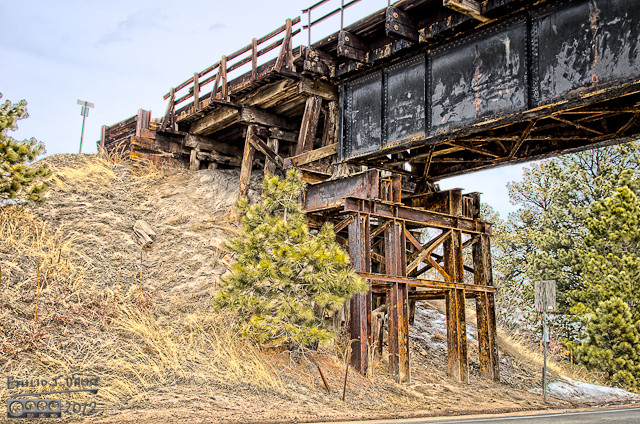

Note the difference between the photo at the top of the post and the one above. It’s a look not everyone likes, but if you want to see texture and details, these shots deliver big time.
I tried the HDR technique on a landscape photo as well. All of the following variations are from the same three photographs merged with various settings. For those who won’t go to Smugmug I’m including two close crops of each processed example to show the details.
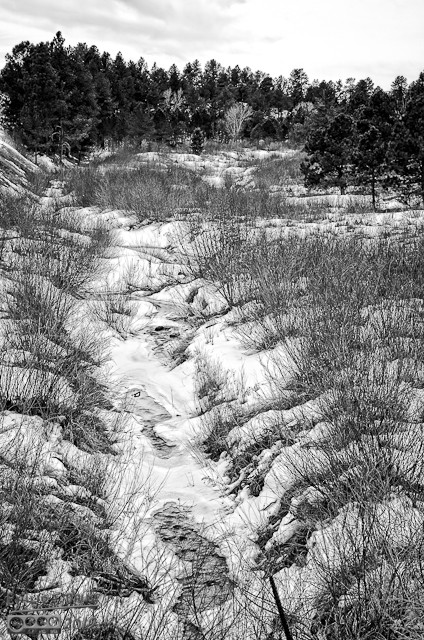
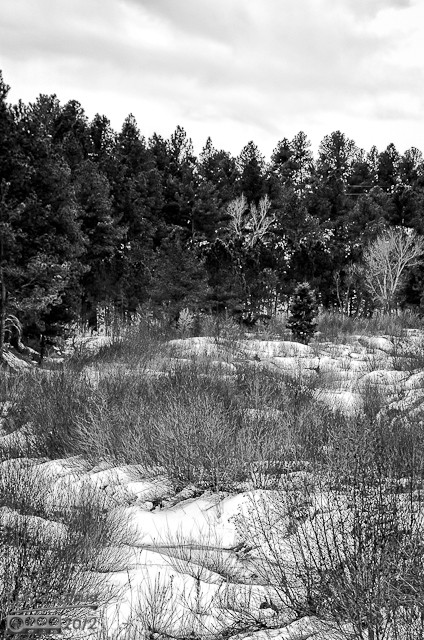
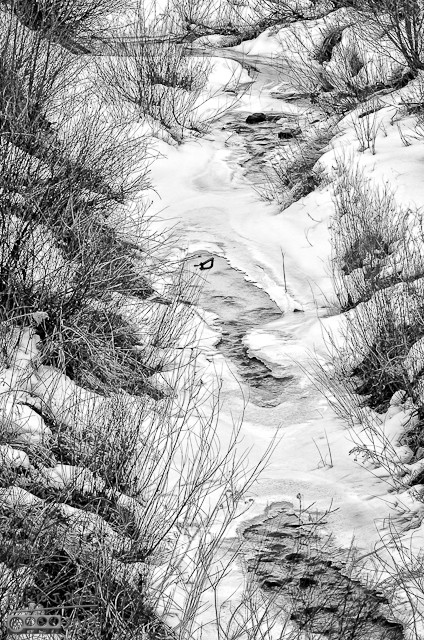
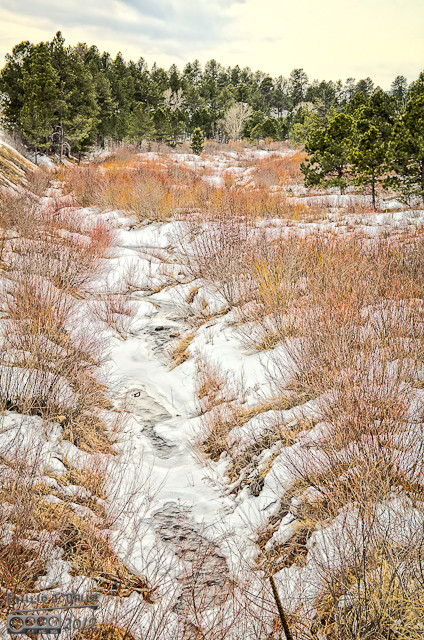
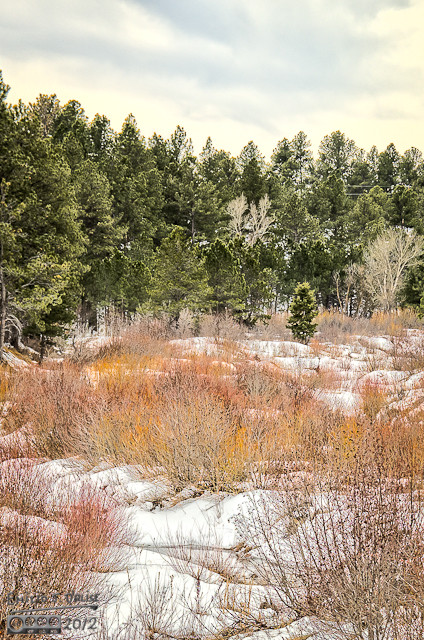
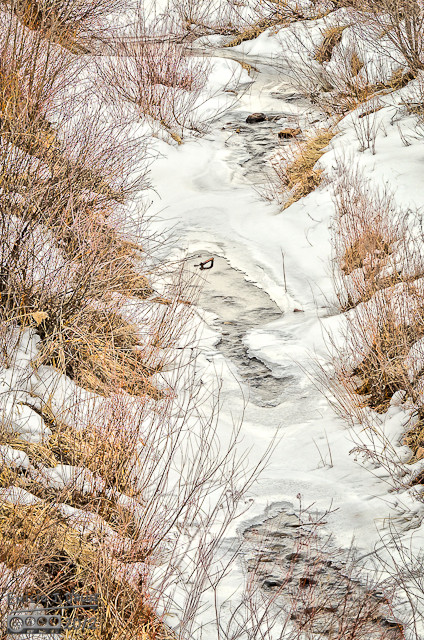
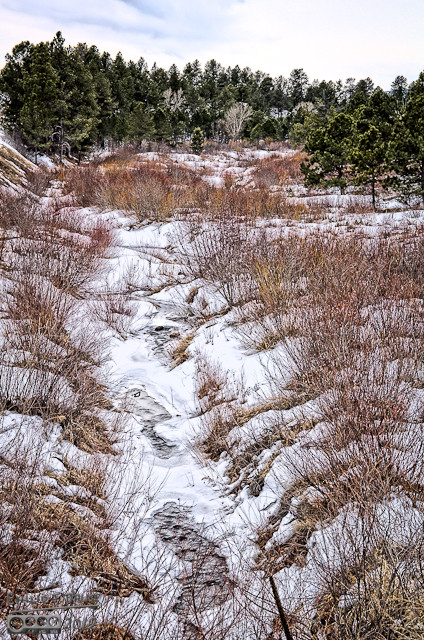
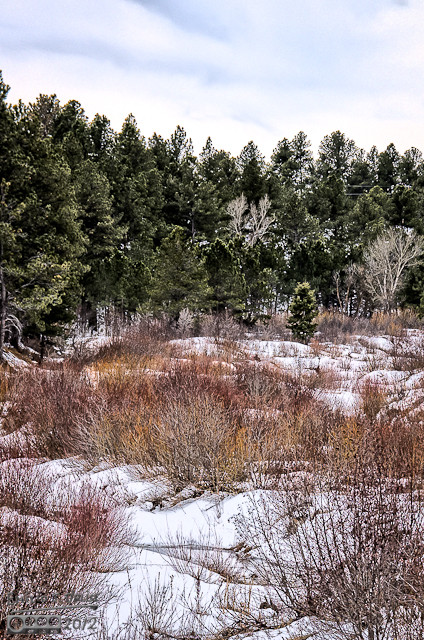
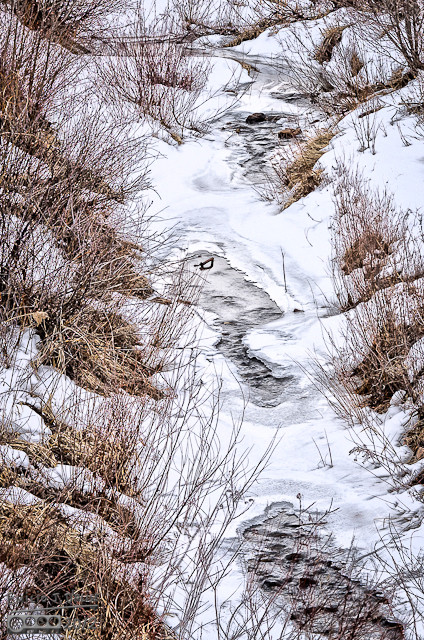
I think these techniques can be very useful to make some photographs pop. You don’t have to go to the extremes I’ve shown here, as both tools have a lot of adjustments to really zero in on a desired look. The effect can be more subtle and realistic.
As I said above, I’ve only played with these tools in a very superficial way, but plan to see what all those sliders do, and what some of the other presets will give me.
The rub, of course, is that one has to take multiple shots of the same picture, and bracket the exposure. As I said, my hand-held shots did not fare well because they could not be aligned very well, and it resulted in objectionable fringing and ghosting. The photographs need to be taken with the camera on a tripod for them to align properly and produce good results.
The HDR tools don’t seem to lend themselves to scenes which do not have great dynamic range to begin with, and as I said, one should probably plan on bracketing at least +/- 2.0 EV for even better results than I got. The above gives you an idea of the process and the possible outcomes, but there are more options than I explored here.
I mentioned above that some people don’t like these type of images; “not real photography” they say. I got to tell you nothing is real photography. Real photography is bland; that’s why people look at photographs and are often stunned at what they see. It’s because the photographer manipulates colors, shadows, sharpness, and a whole lot of other stuff to realize a vision. This is just another tool to that end, and one that sometime can be useful to present certain subjects in new and innovative ways.
For those who are interested in seeing what the HDR process really did to the pictures I showed in this post, you do need to go look at the SmugMug gallery, and see the amount of detail and texture in the processed photos.
Click on any picture or click HERE to go to the gallery.
As usual, thanks for visiting and reading my stuff, and I hope this was helpful to those who might have been curious about High Dynamic Range Photographs (HDR).
P.S. Nothing to do with this post, and I don’t get anything for it, but the Amazon Gold Box deal of the day for today, February 29th, is Lightroom 3 for $90. In my opinion, that is a heck of a deal, especially if you shoot RAW images, and process a lot of images.
<><><><><><><><><><o><><><><><><><><><o><><><><><><><><><>
About awards: Blogger Awards About “likes”: Of “Likes”, Subscriptions, and Stuff
Note: to those who may click on “like”, or rate the post; if you do not personally hear from me, know that I am sincerely appreciative, and I thank you for noticing what I do.
. . . my FP ward . . . chieken shit.
Thanks for the tip on Lightroom. Duly orderd!
I’ve only taken one stab at HDR. As you said, it’s not for everything, but it has it’s place in photography for sure. Especially like the creek bed. The artistic one. Off to work now.
LikeLike
I plan to play with it more, and as a side benefit it will get me into using my tripod more often. I’ve gotten lazy in shooting everything hand-held.
LikeLike
Okay, I lost you after the first sentence when you got technical but I got back on track (get it?) with your comment about manipulating photos. Nature inspires our art and is not affected by our interpretations. Besides, variety fires up the imagination.
I went to SmugMug and looked at most of the photos in Original and was especially enchanted by #5 Cabin (the texture of the roof and the nails), #8 Trestle (the tips of the pine tree on the left side just above the horizontal beams), and #14 (intrigued with the red ‘blob’ at the joint of the two beams just above the ‘X’ beam on the supporting pillars, or whatever you call that frame holding up the dang thing).
And yes, by now I’ve demonstrated that I’m not the engineer in the family.
LikeLike
I too noticed the red blob, and mean to go back there to see what it is.
It does not jump out at you in the regular photos.
LikeLike
I like the idea of HDR and you can get some amazing results as we see here above 😉 well done and thanks for sharing this
I have never done anything with HDR yet, I do have Photoshop and sometimes it’s just so much fun to see what you can do with a photo… one of these days I might show an example on my blog…
LikeLike
It’s seldom better than the present . . . get cracking.
LikeLike
Oh…that definitely took you some time! I DO go and peruse SmugMug. I really like that platform for viewing hi-res photos, particularly yours. It really does them justice.
HDR — that’s a new concept for me. I’ll have to explore when I have more time. Right now, it’s all about the garden (though I did think to take some photos in our “pea soup” morning mist this morning as the yard is waking up to spring).
There are a couple of shots in there that I would spend good money on…
LikeLike
Thanks Shannon. Looking forward to the pea-soup fog . . . although most of the fog I see is usually gray.
LikeLike
No, this stuff hits you in the face. Like floating slow, small rain. Very wet and thick. Pea soup.
LikeLike
Hmmm . . . can’t relate. No one ever threw pea soup at my face.
I kid. We do get heavy fog here since we are sometime above the clouds. it’s fun driving Ute Pass in the fog. This is what Ute Pass looks like not in the fog:
Driving at about 55-60 (don’t tell anyone; speed limit is 45), did not hit the brakes once (hence why I catch up to other cars), holding the camera with one hand, driving my Suburban with the other.
LikeLike